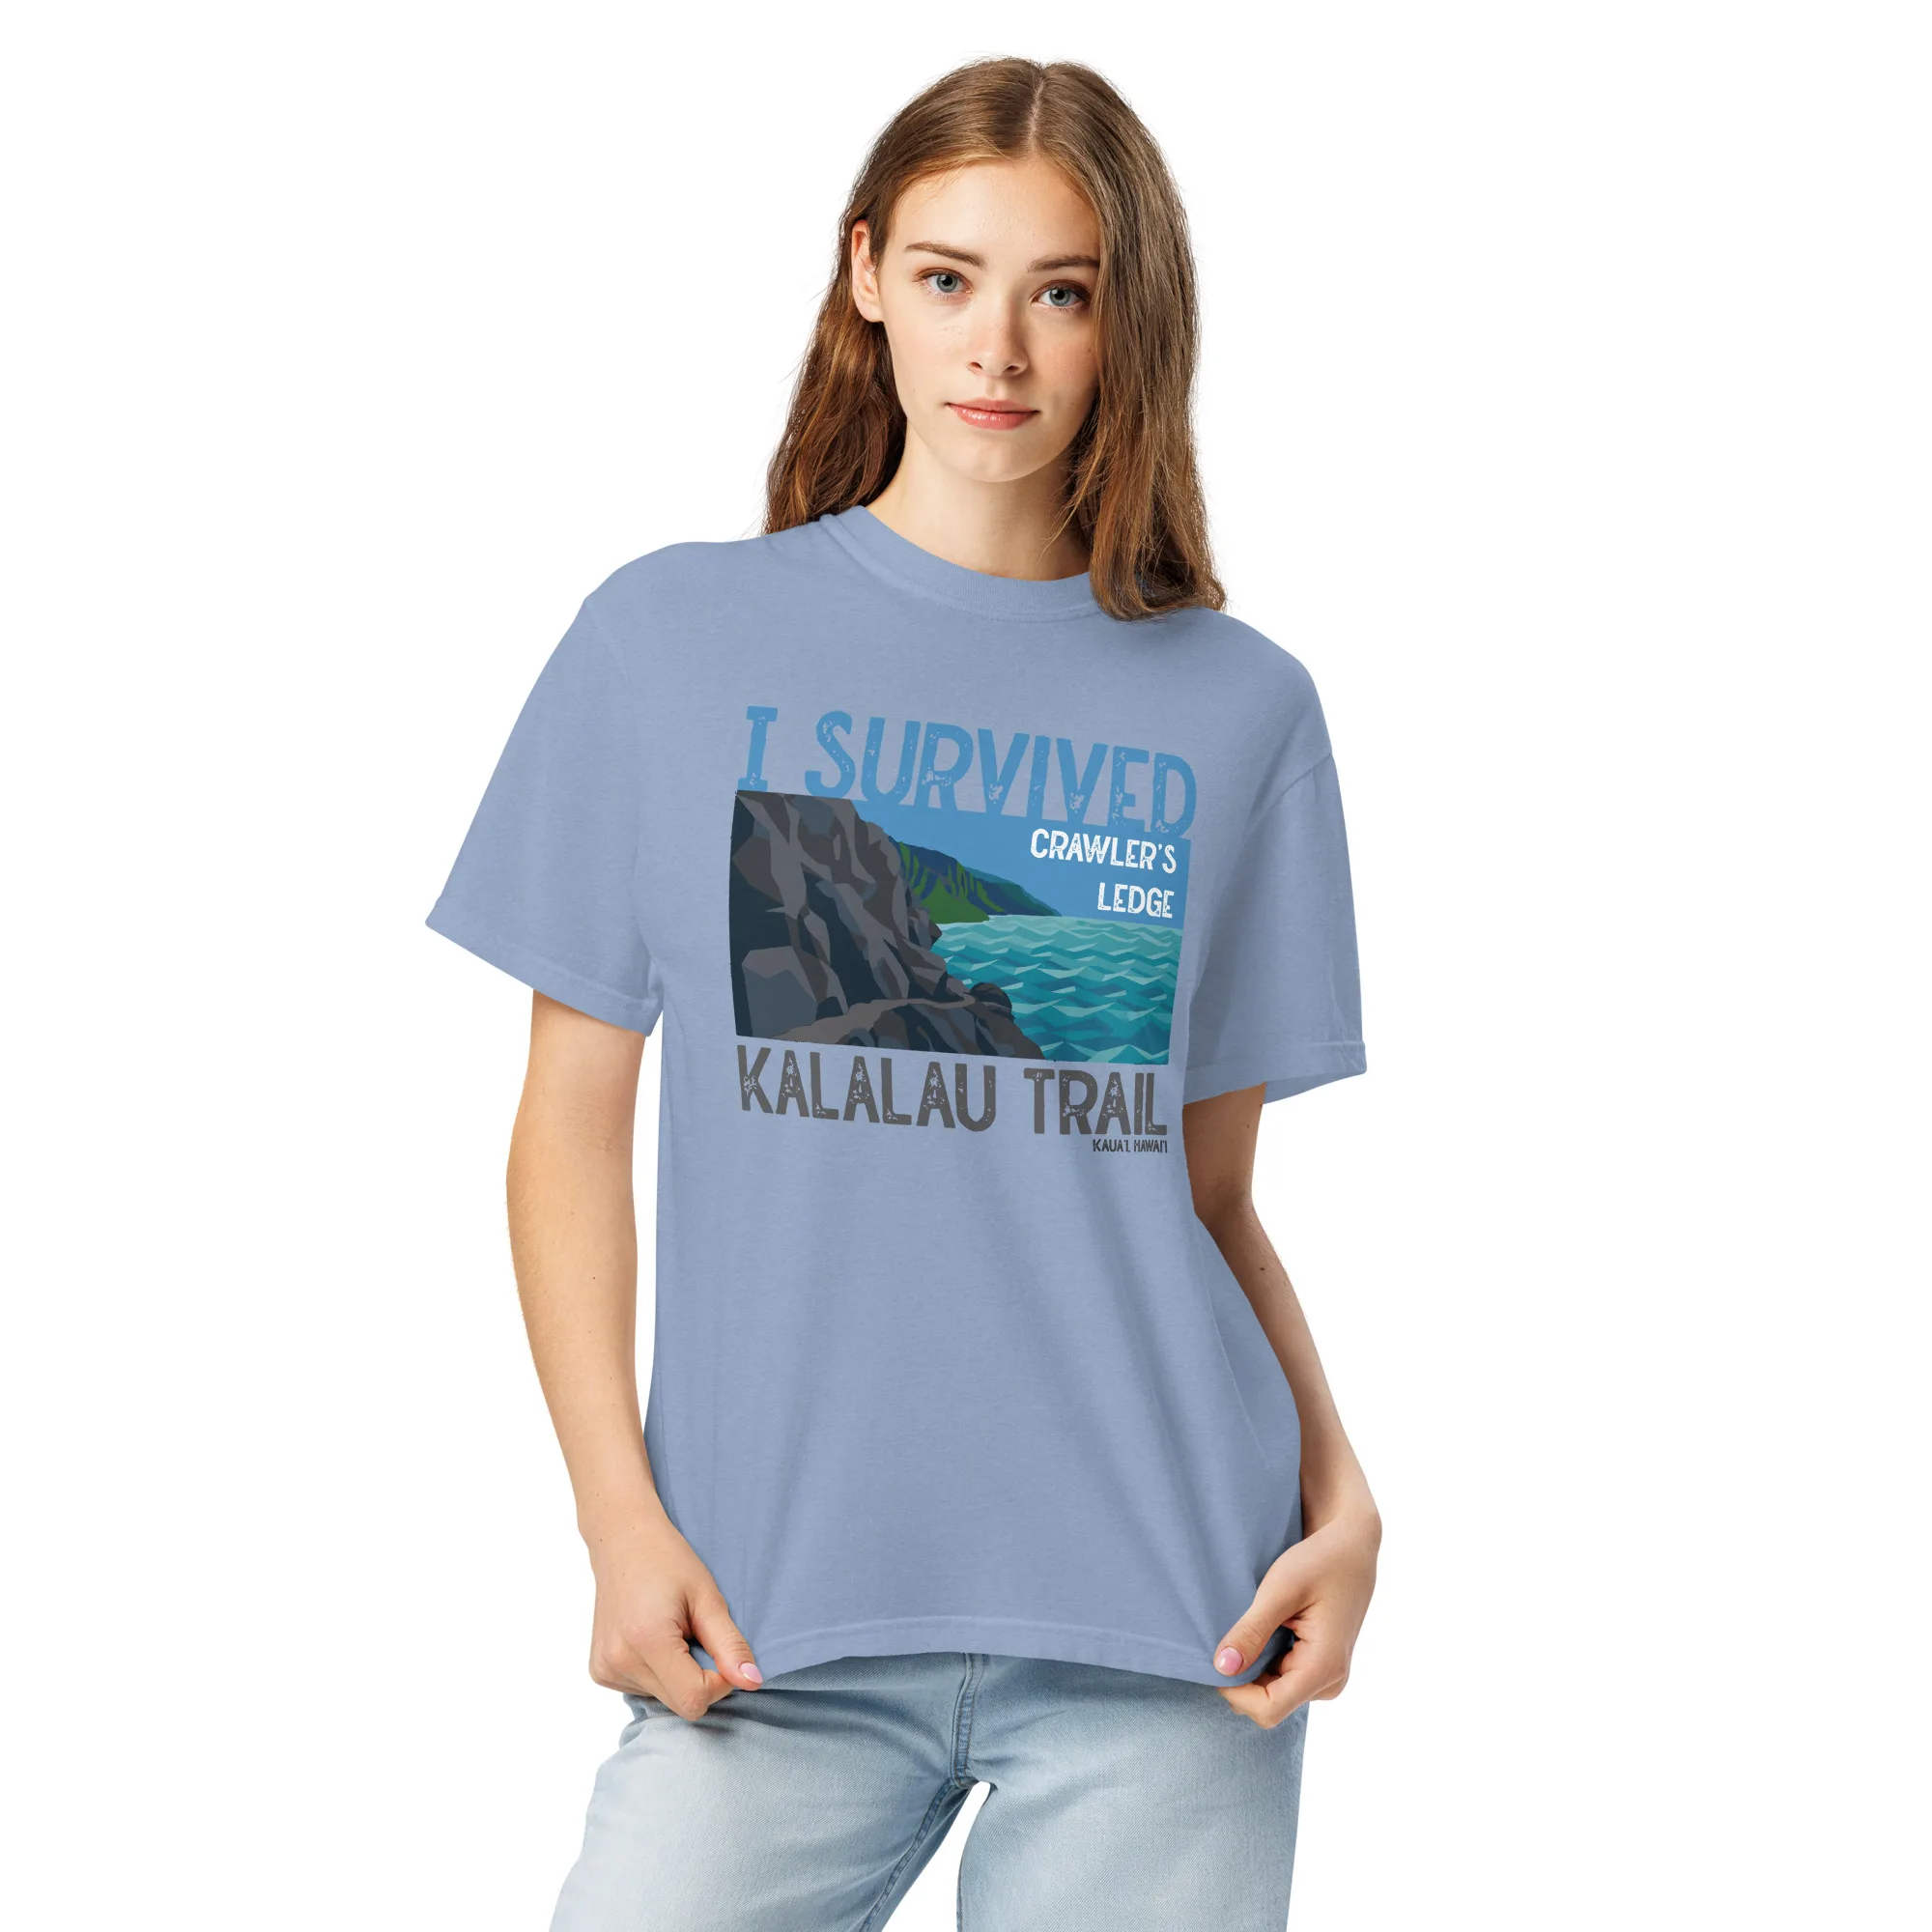
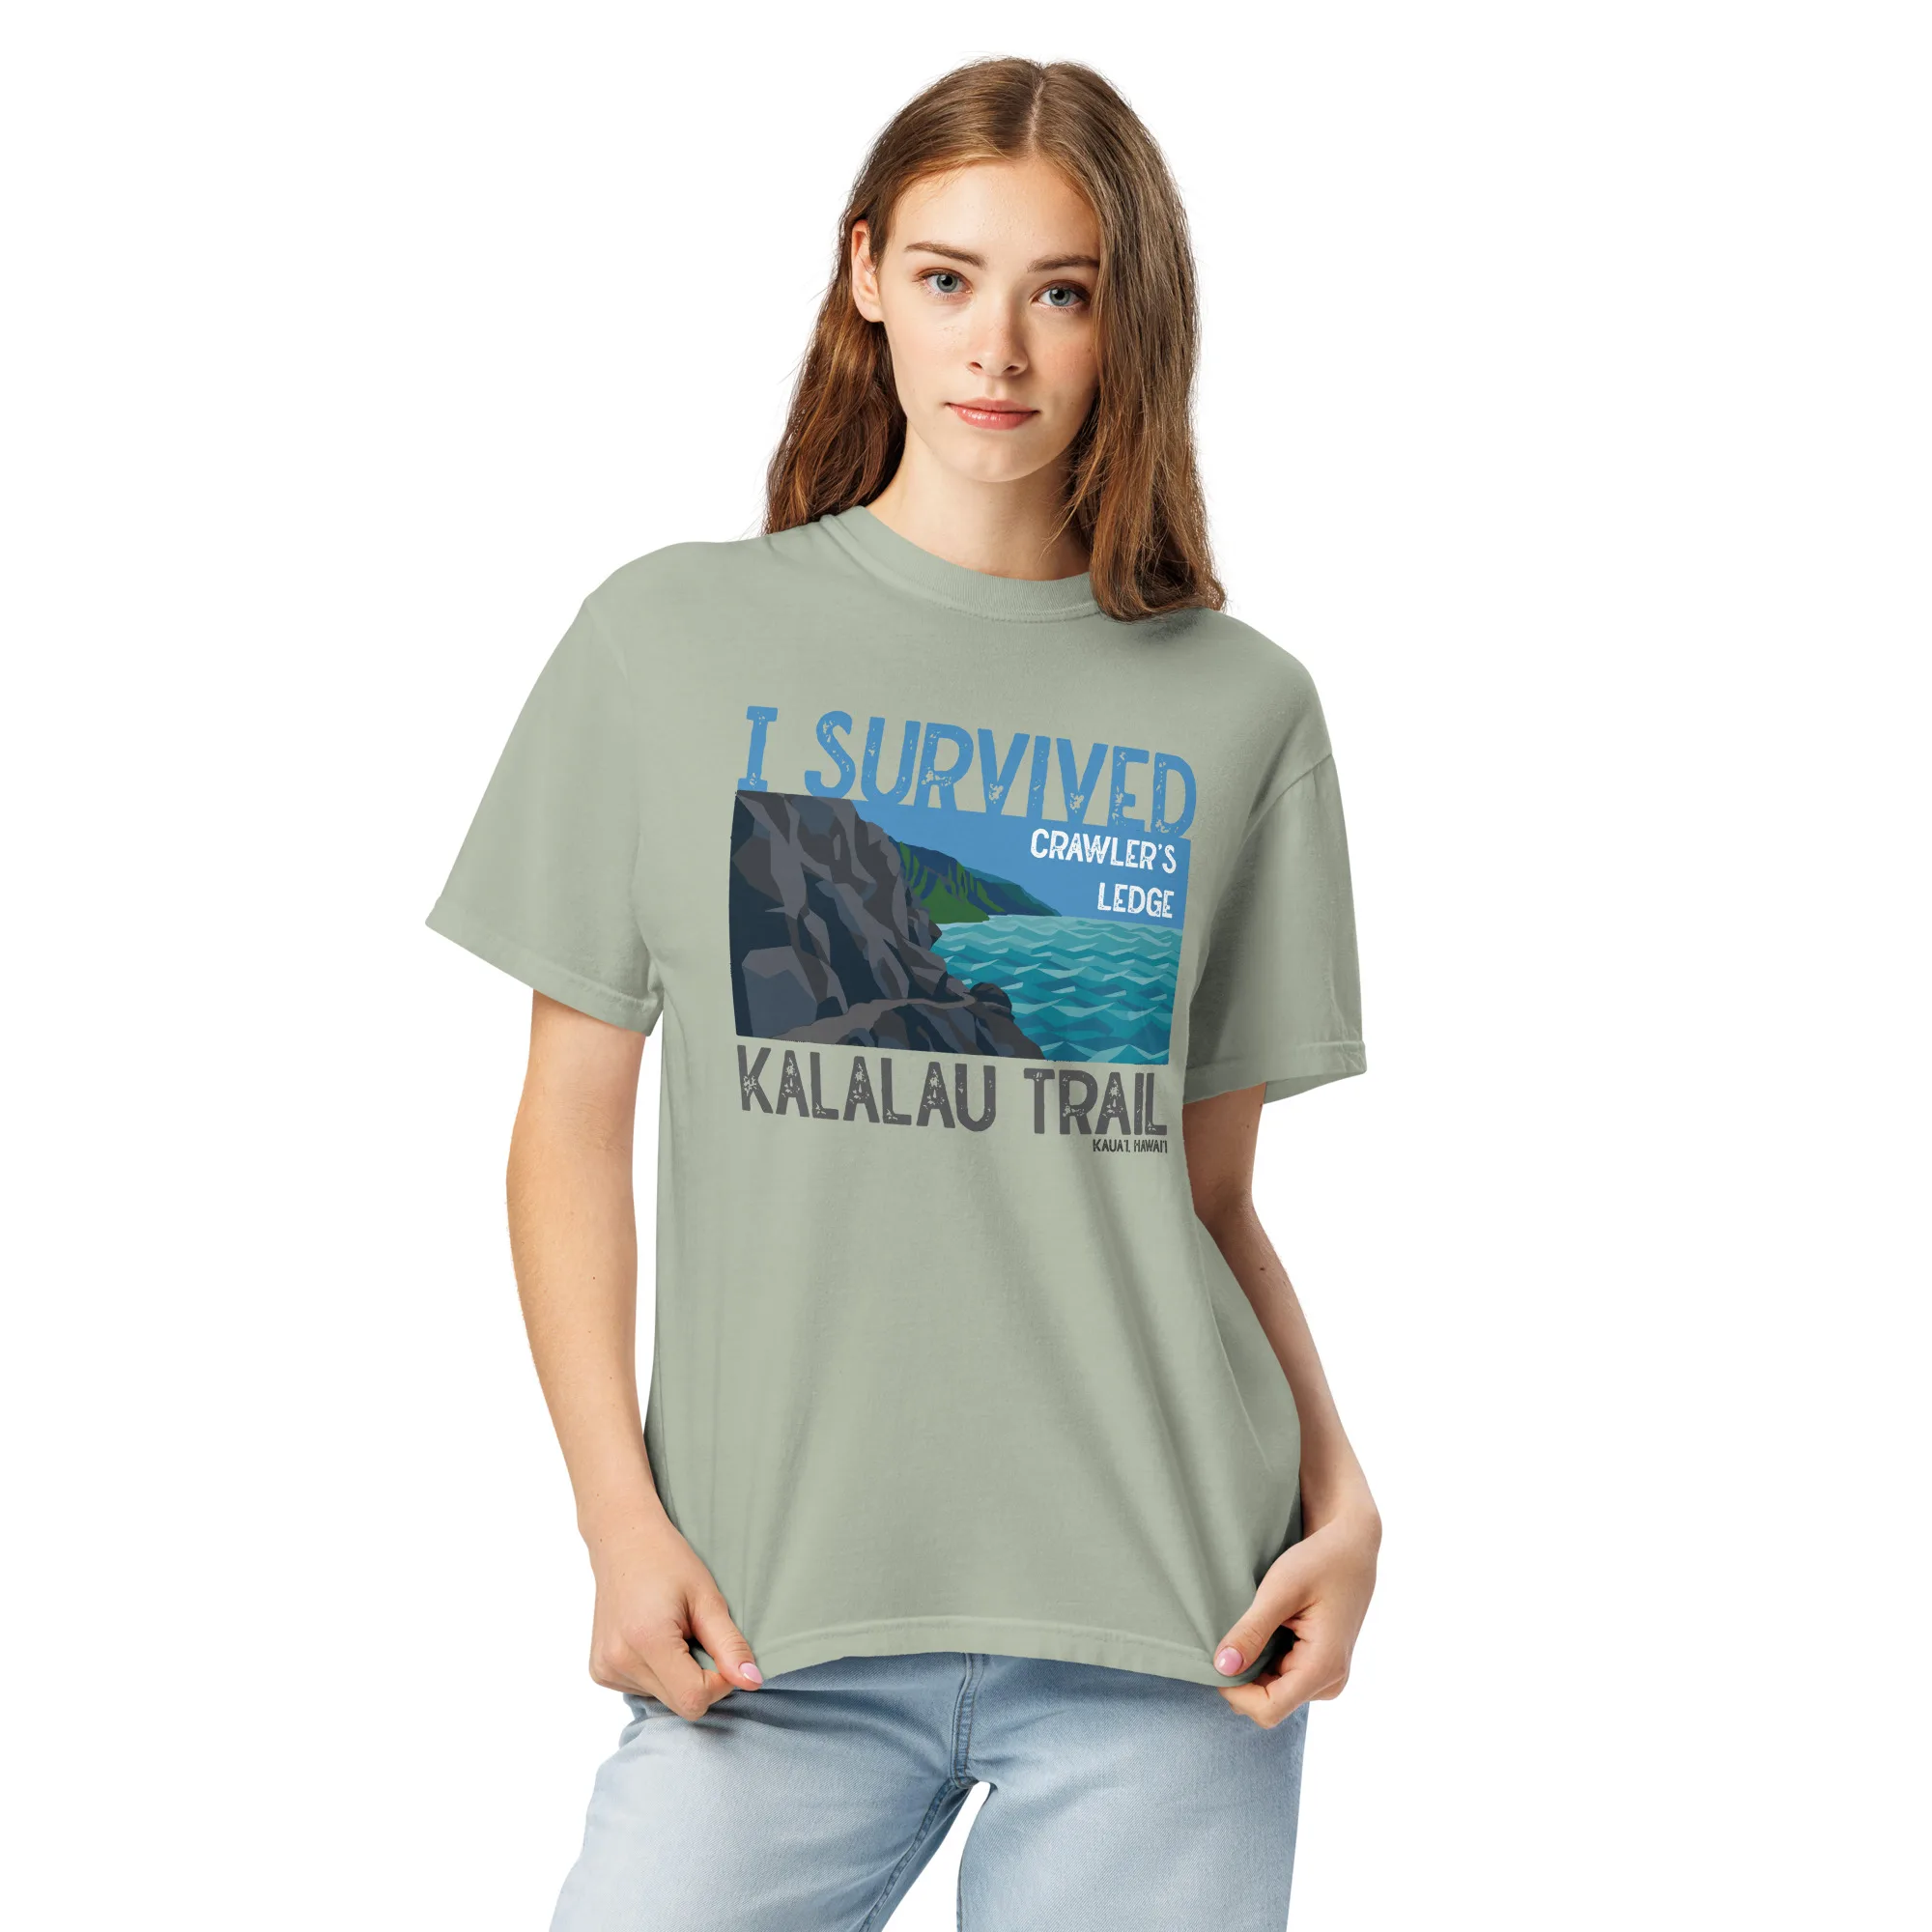
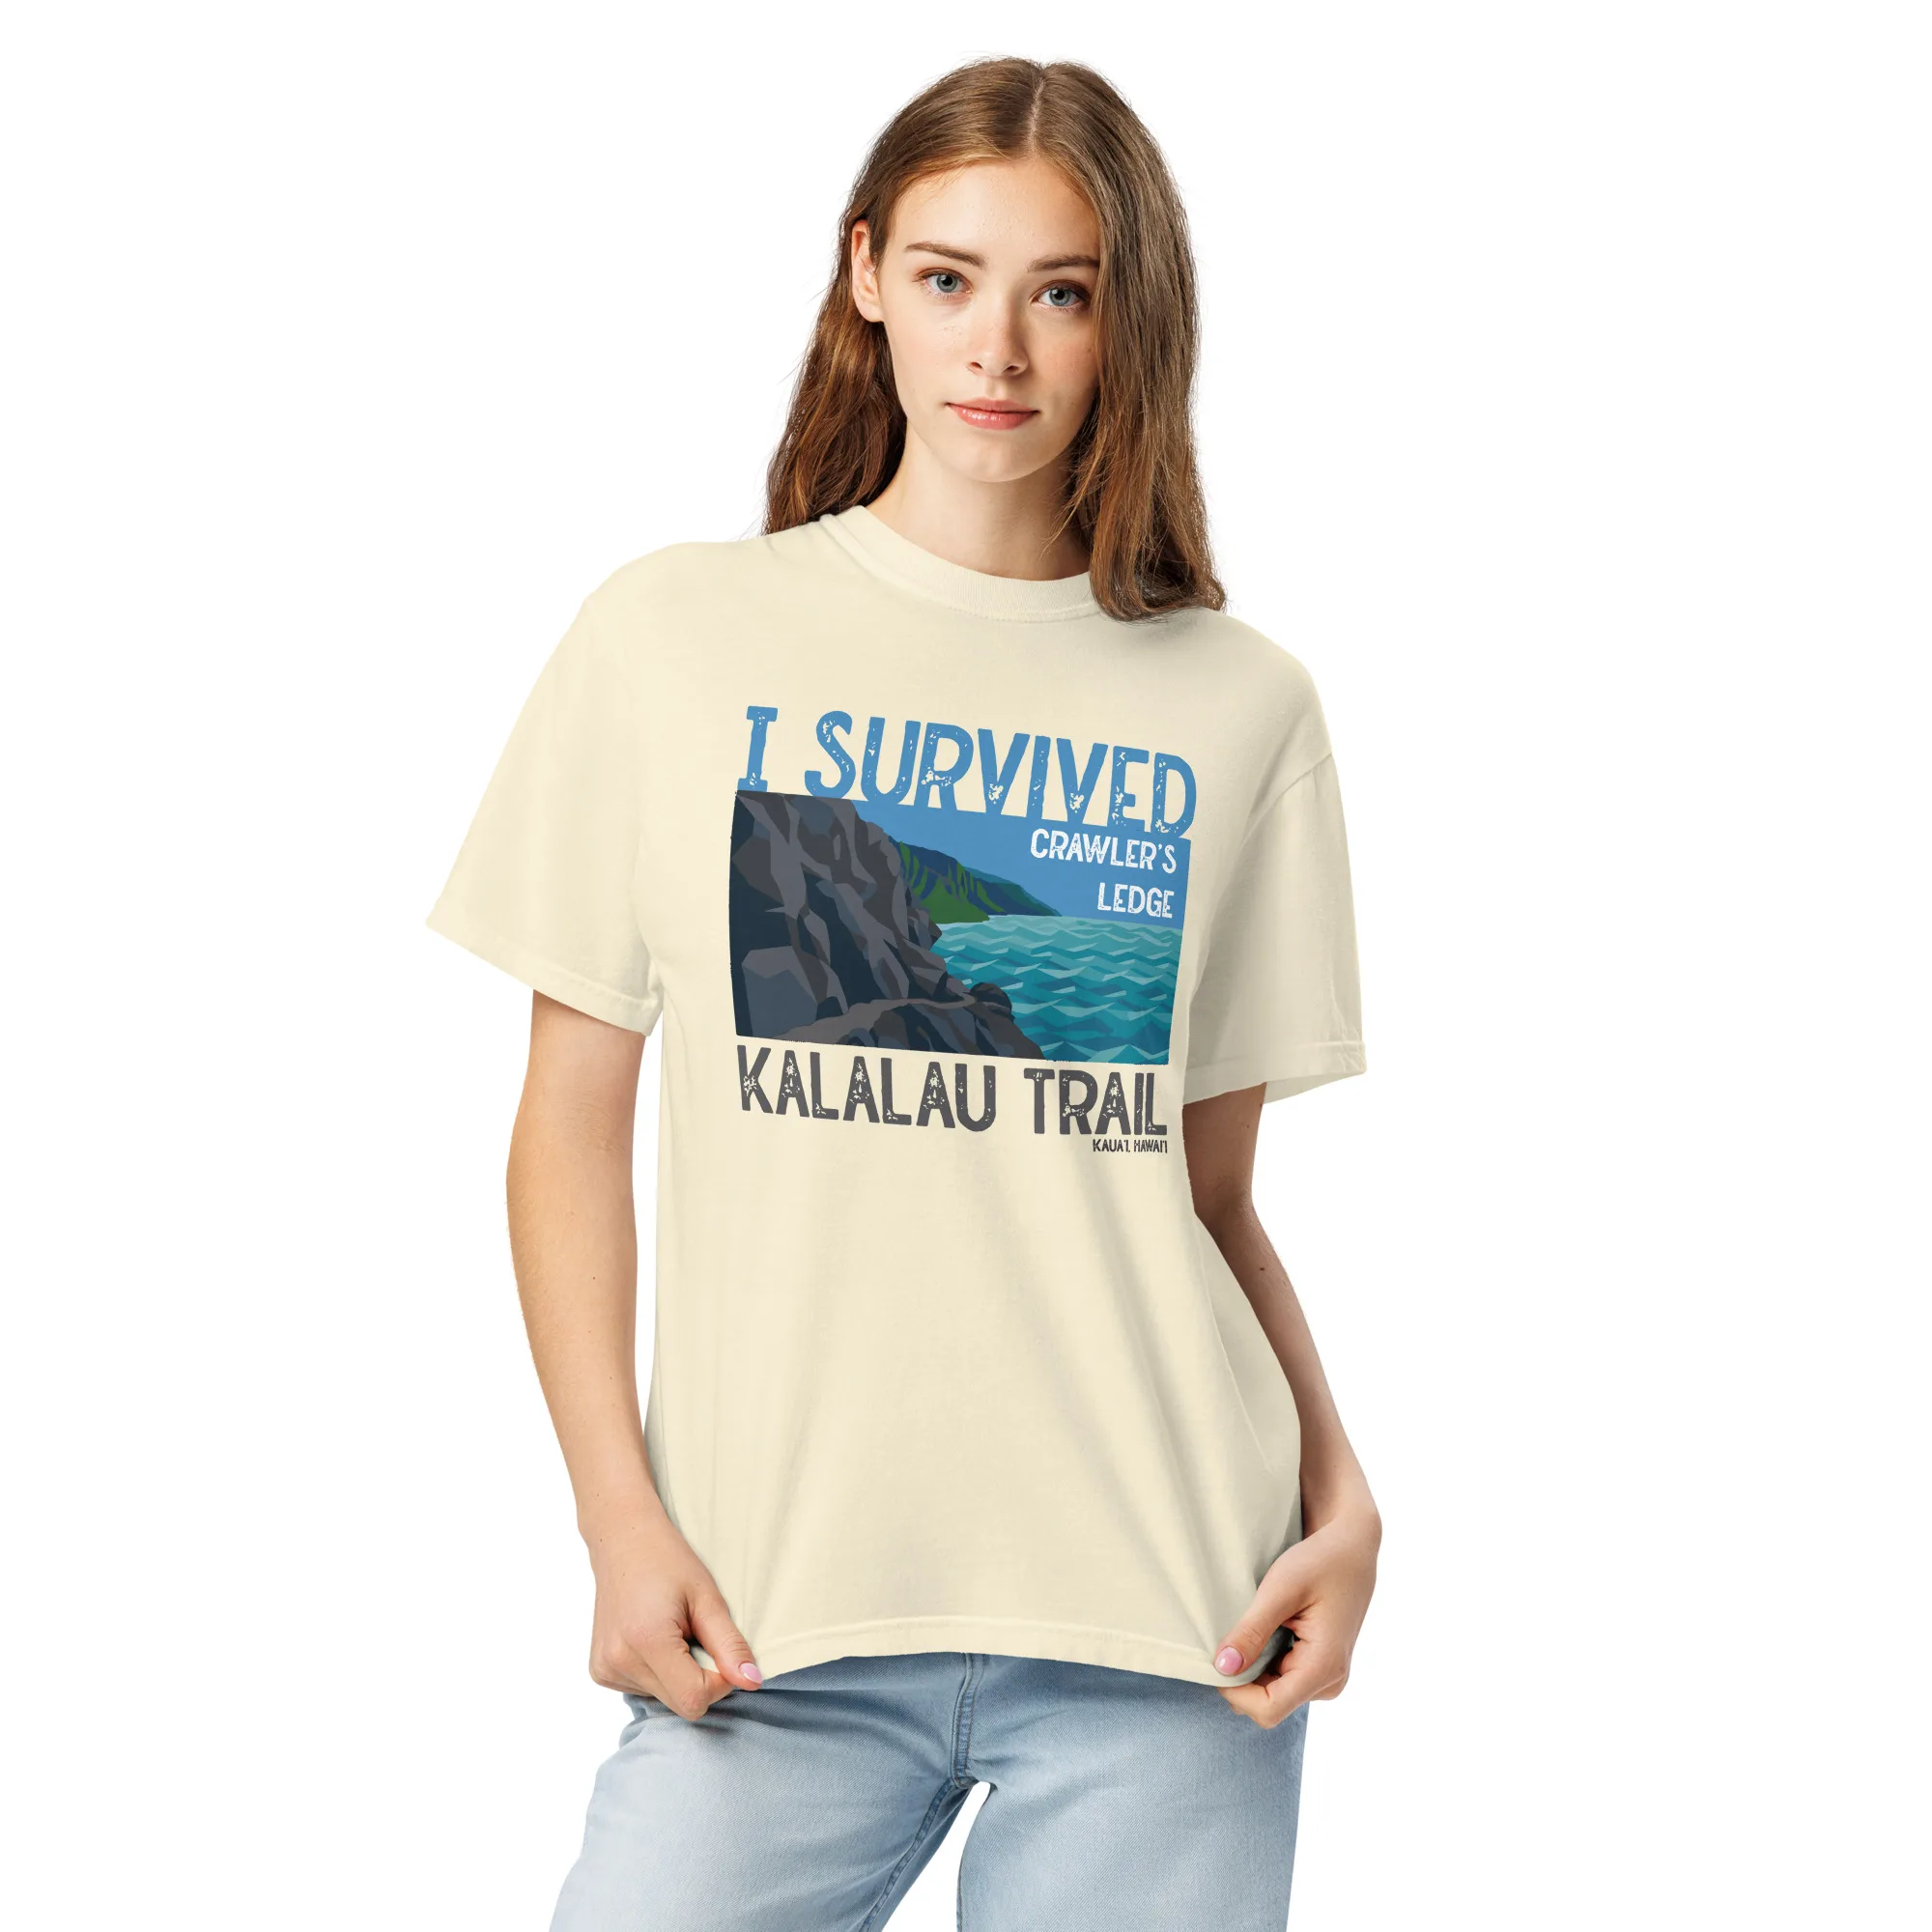
Crawler’s Ledge
Facing Crawler’s Ledge: The Ultimate Guide to Mile 7
For many backpackers, the Kalalau Trail is the ultimate bucket-list trek—11 miles of raw, Jurassic beauty, plunging valleys, and secluded coastlines. But there is one specific stretch of trail that looms large in the minds of hikers long before they ever step foot on Kauaʻi: Crawler’s Ledge.
Located right after the 7-mile marker, this section of the trail has earned a global reputation as one of the most nerve-wracking mountain passes in the outdoor world. Let’s break down the exact physics of the ledge, separate internet hyperbole from reality, and arm you with the tactical mechanics required to cross it safely.
The Anatomy of Mile 7
-
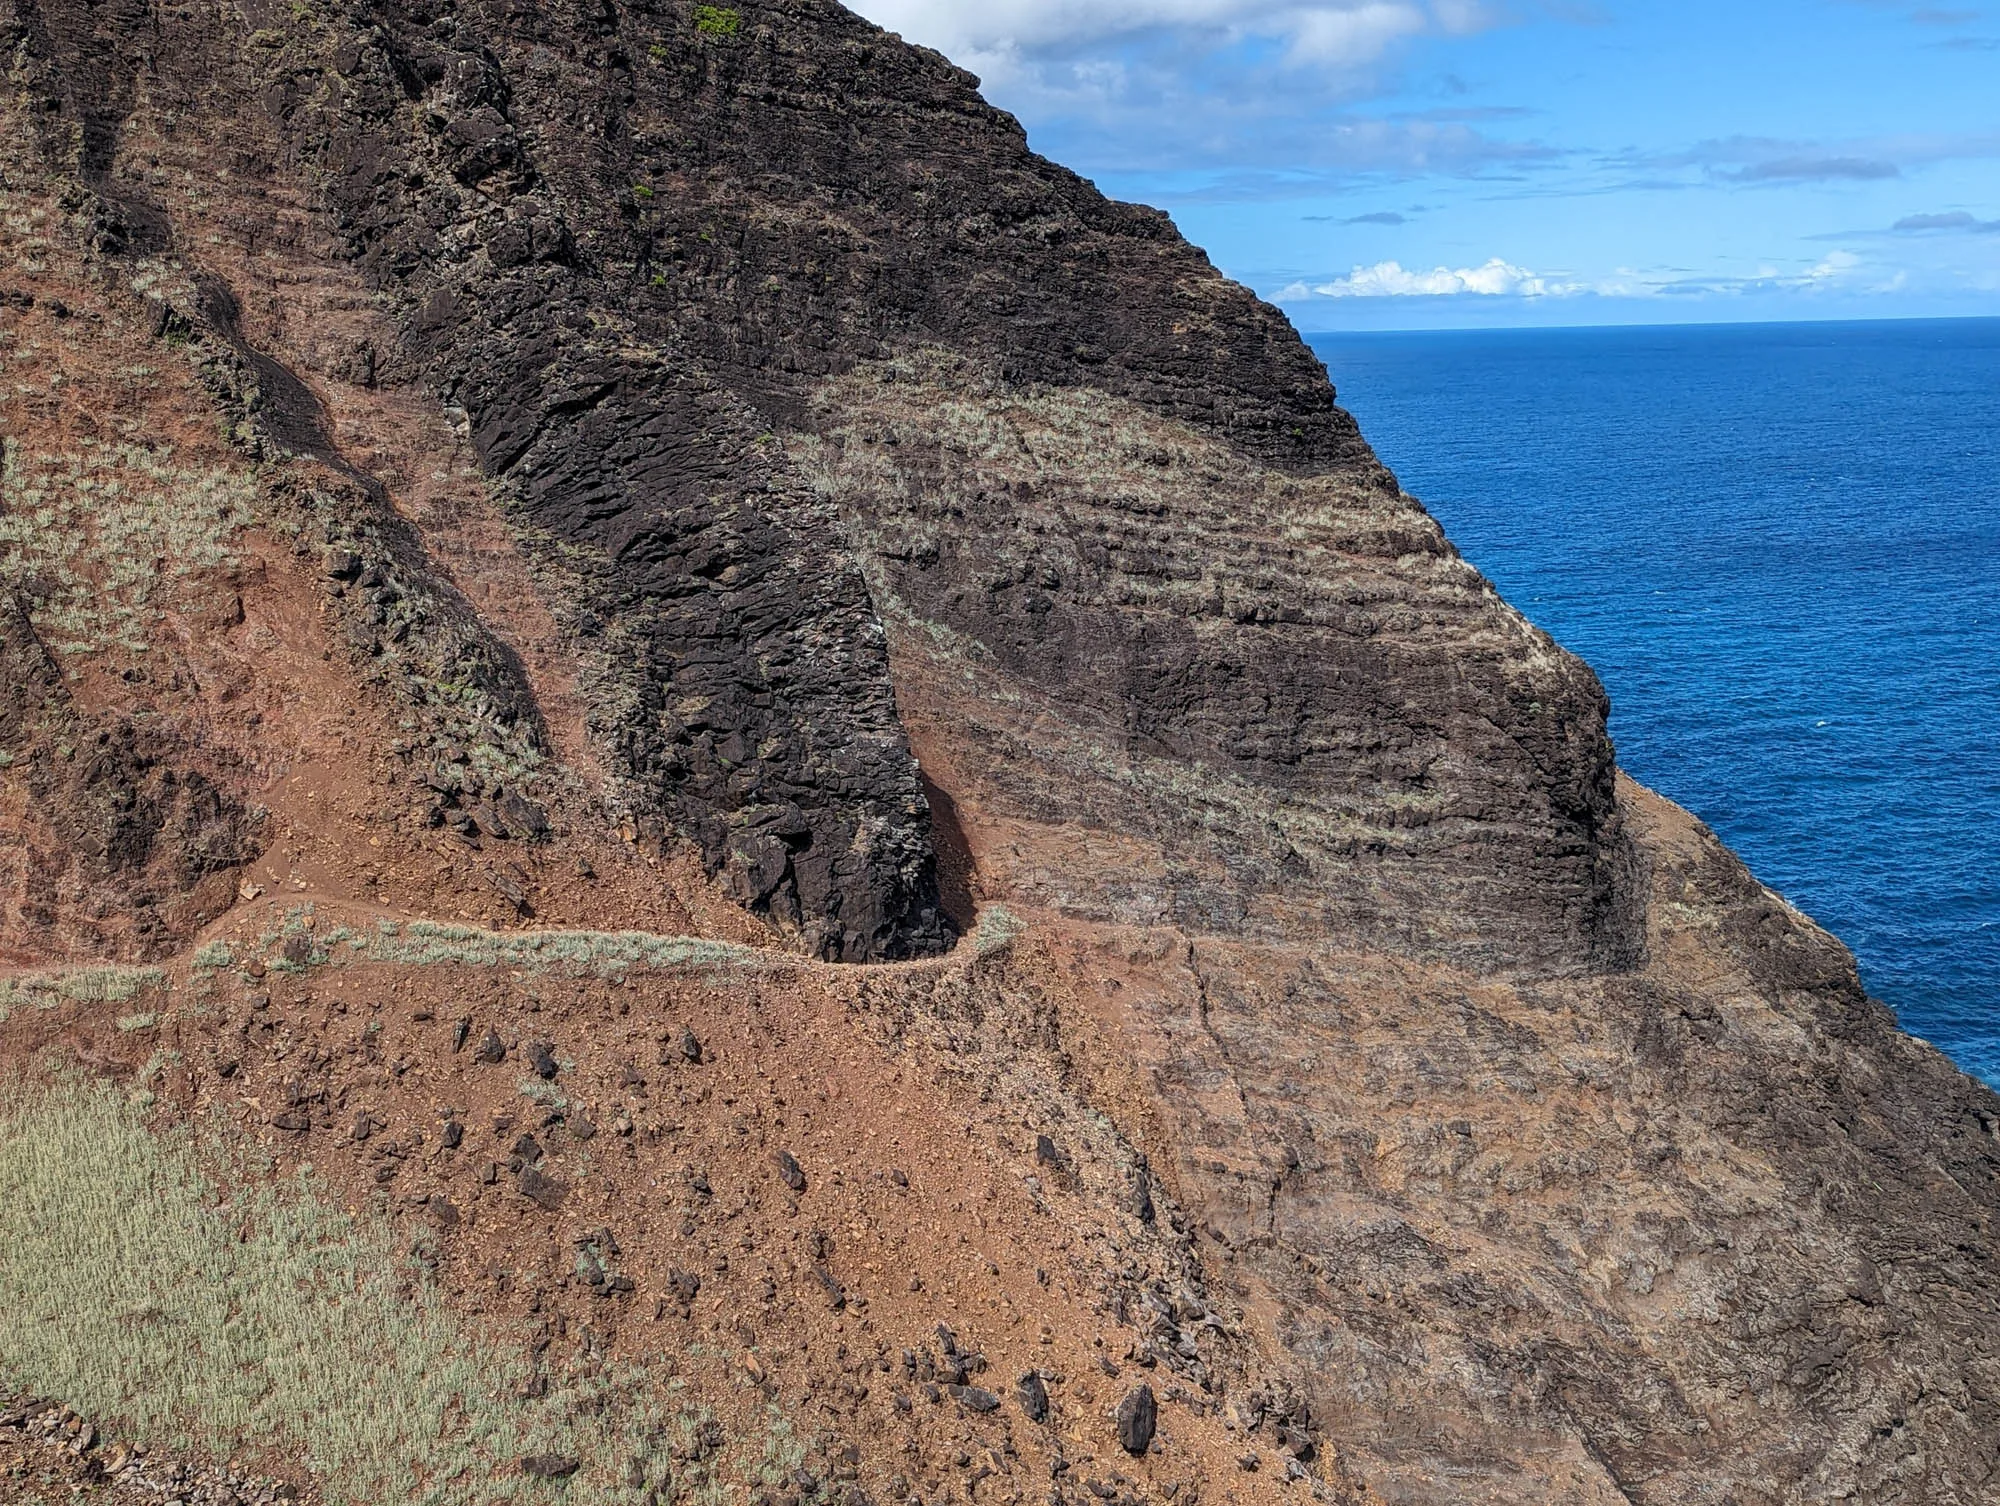
The Terrain: Crawler’s Ledge is a narrow traverse where the slick, red volcanic clay of the Na Pali coast gives way to a shelf of hard, jagged, exposed basalt rock.
-
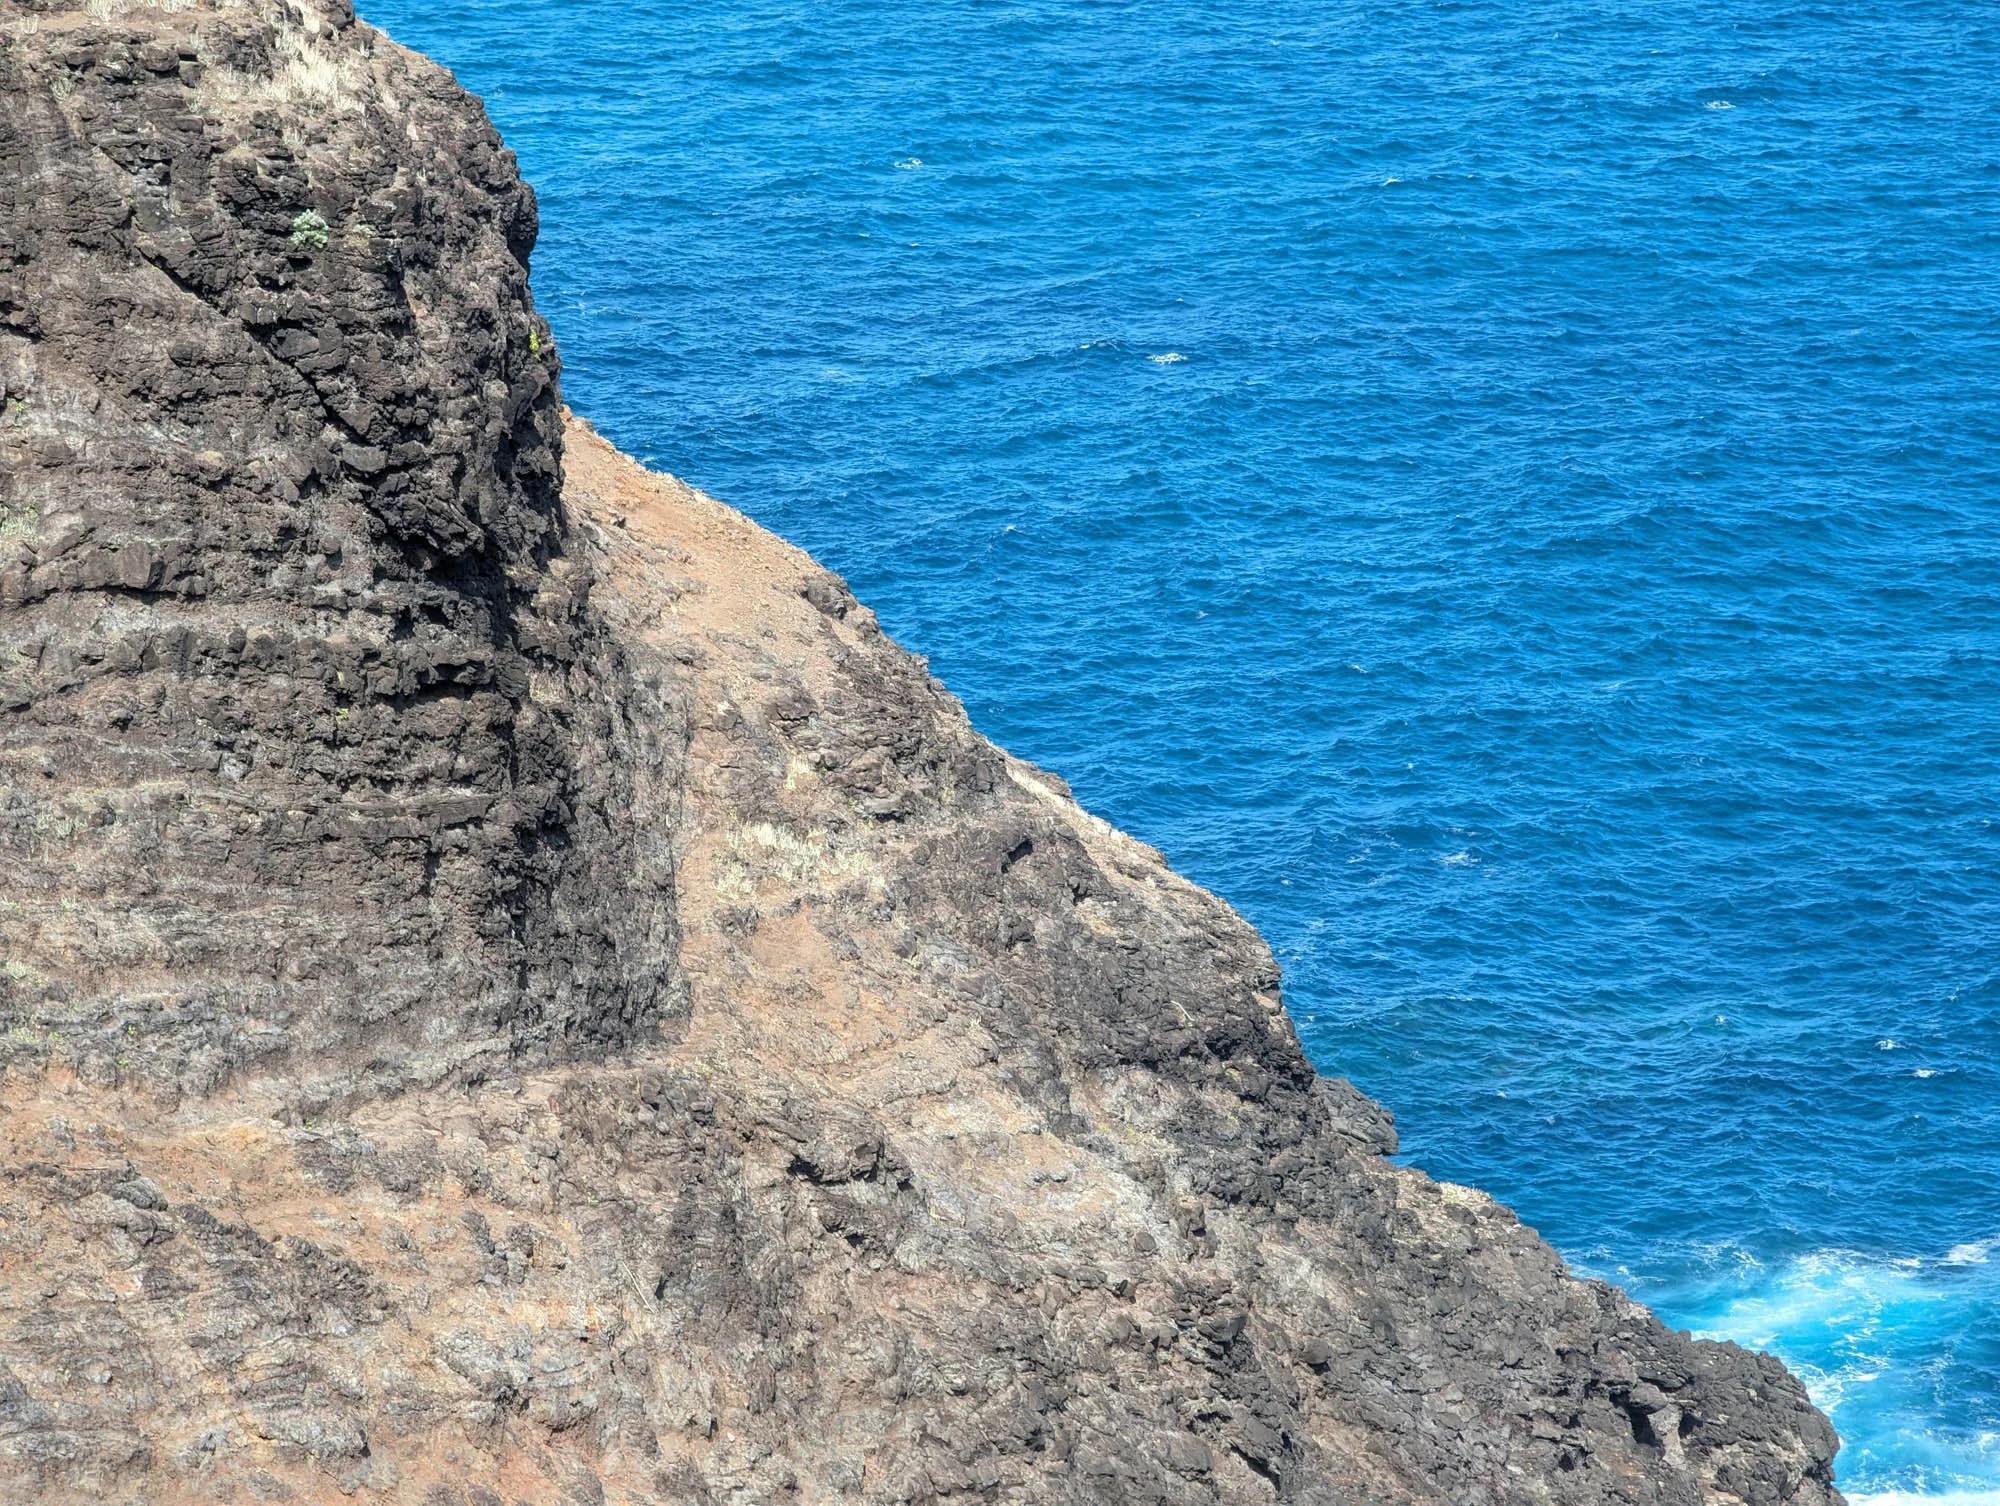
The Exposure: On your way into the valley, a sheer, vertical cliff face hugs your left shoulder. To your right is a dramatic, unshielded 300-foot drop directly into the swirling depths of the Pacific Ocean.
-
The Visuals: Because there is zero vegetation or tree canopy to hide the drop-off, your brain is fully aware of the sheer height. On a clear, dry day, the basalt rock offers surprisingly solid traction—but the massive atmospheric exposure is what catches casual hikers off guard.

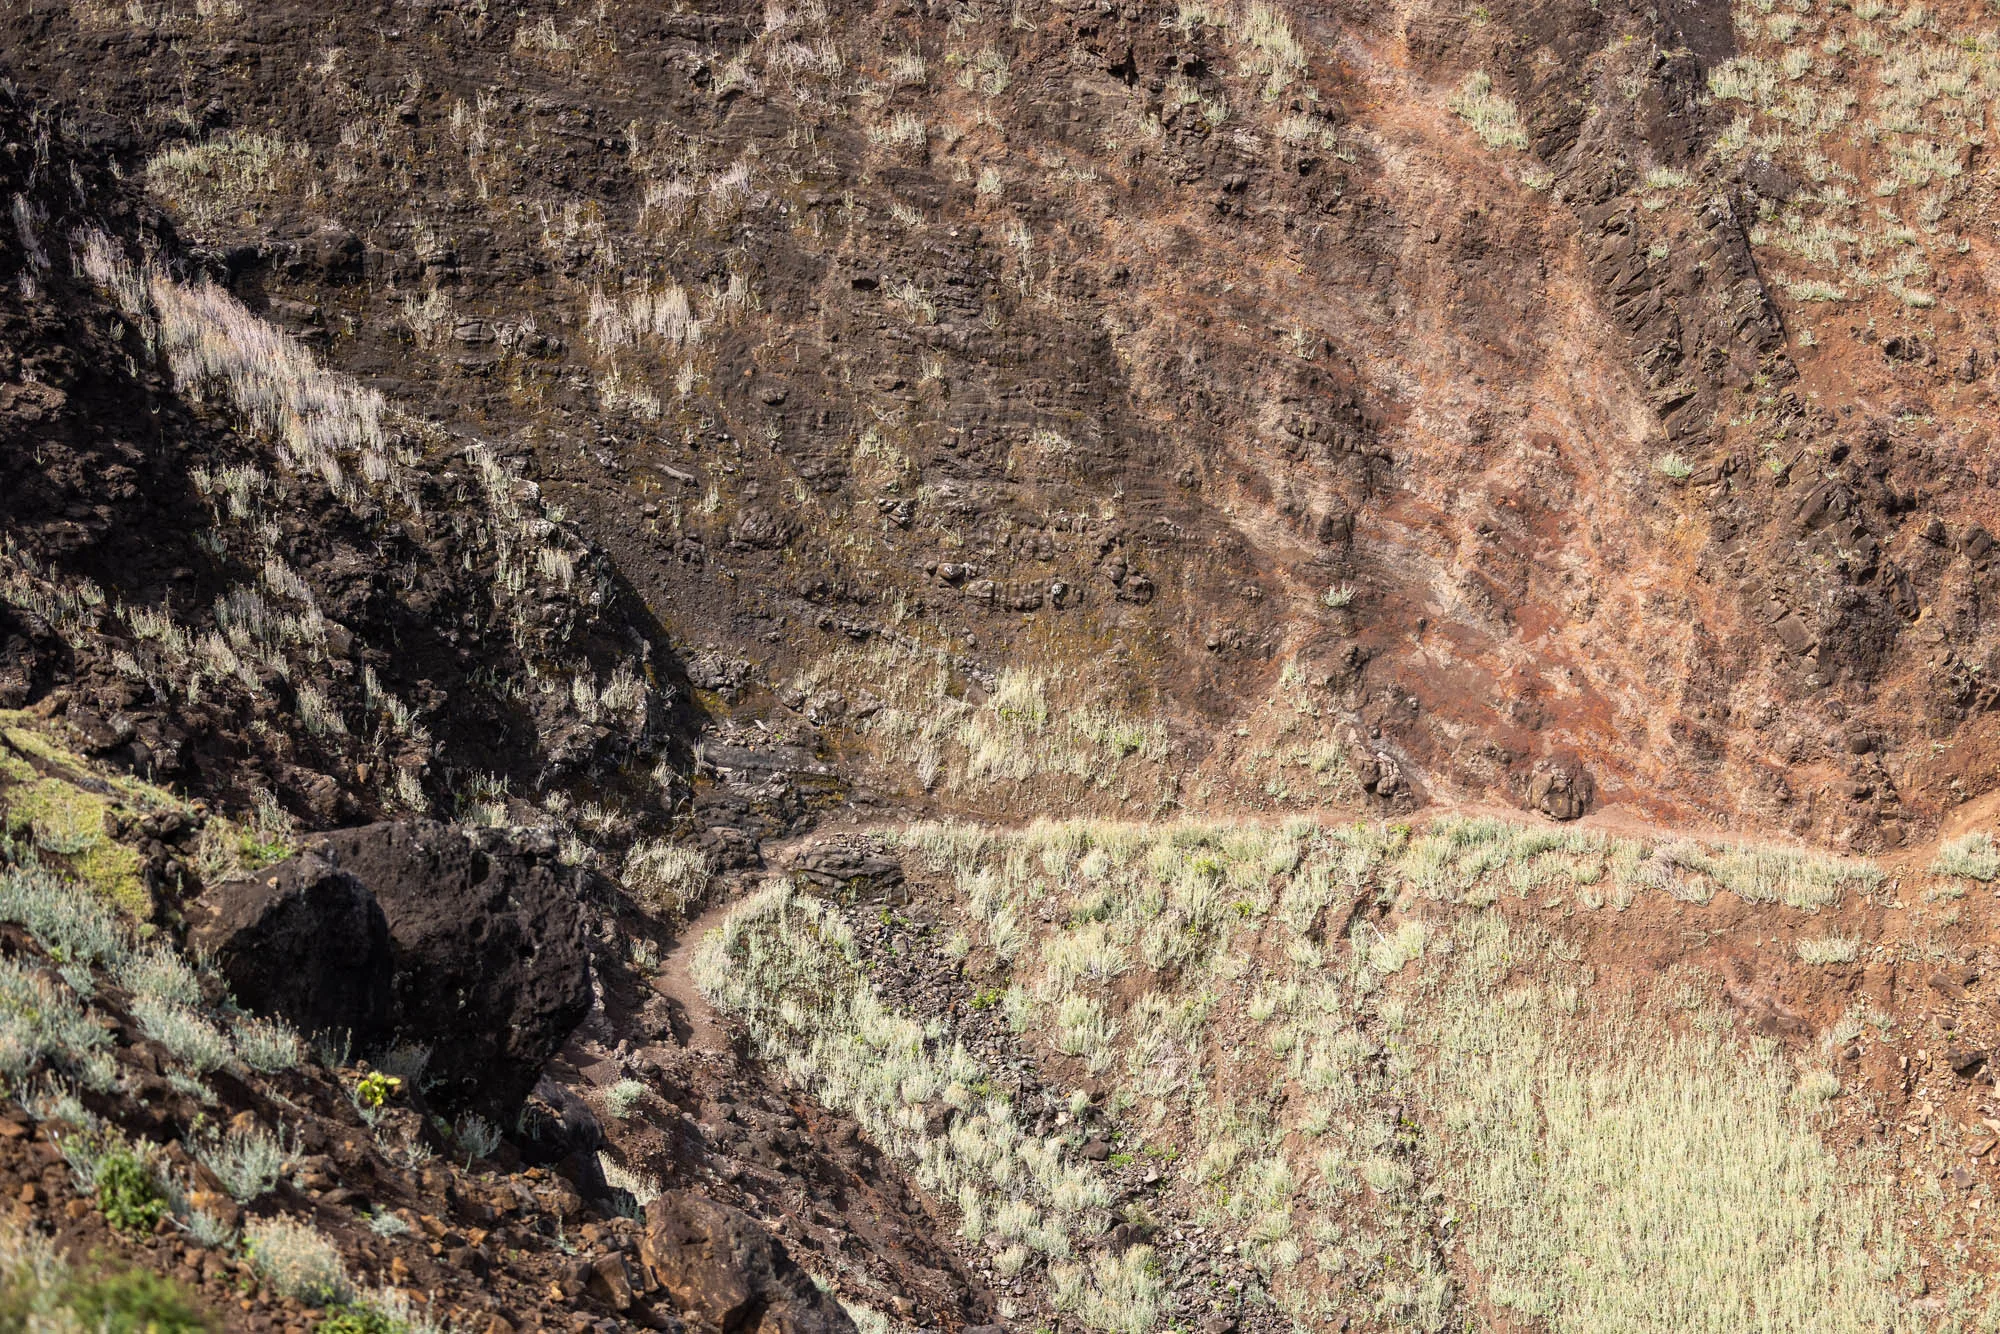
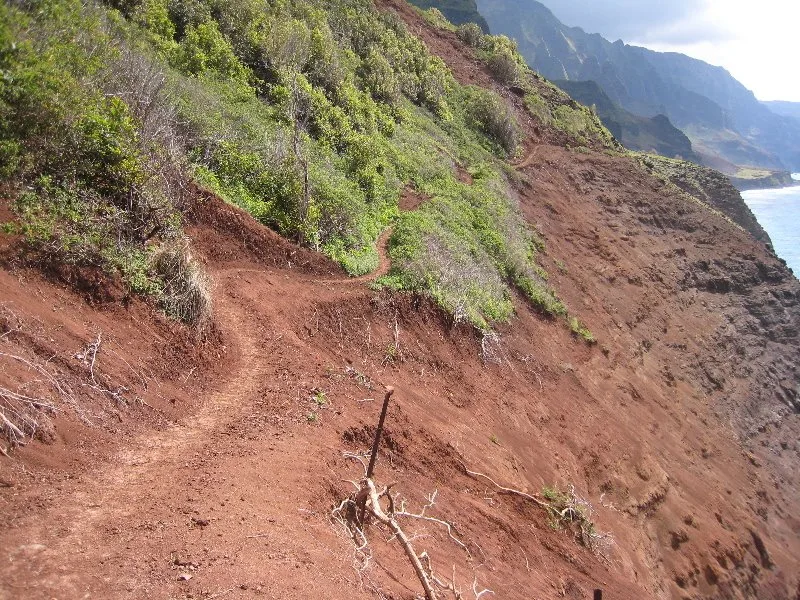
⚠️ The Mud Threat: It’s Not the Rock, It’s the Approach
Many hikers obsess over the rocky ledge itself, but seasoned trail veterans know the true hazard lies in the red clay slopes immediately leading up to and exiting the rock face. > When the North Shore encounters sudden tropical downpours, this exposed volcanic soil instantly transforms into a slick, ice-like “grease.” The ledge is significantly more dangerous when slick or during high-gust winds. Check the
Navigating an unshielded cliffside slope while wearing a heavy 40-pound multi-day pack on slippery mud is where foot placements fail. If the approach slopes are saturated or active high-gust winds are ripping across the ridges, you must wait it out.
Firsthand Tactical Protocols
Maintain 3 Points of Contact
Shorten your trekking poles slightly to adjust for the slope. Keep two feet and at least one pole planted firmly into the rock face before making your next forward movement.
Lock Your Focus
Do not look down at the breaking waves or track the horizon while actively stepping. Pick your next two steps, plant your boot tread with intention, and repeat.
Pull-Over Etiquette
Never try to squeeze past oncoming hikers on the narrowest bends. Locate a wider, recessed rock pocket ahead of time and pull over entirely to let others pass.


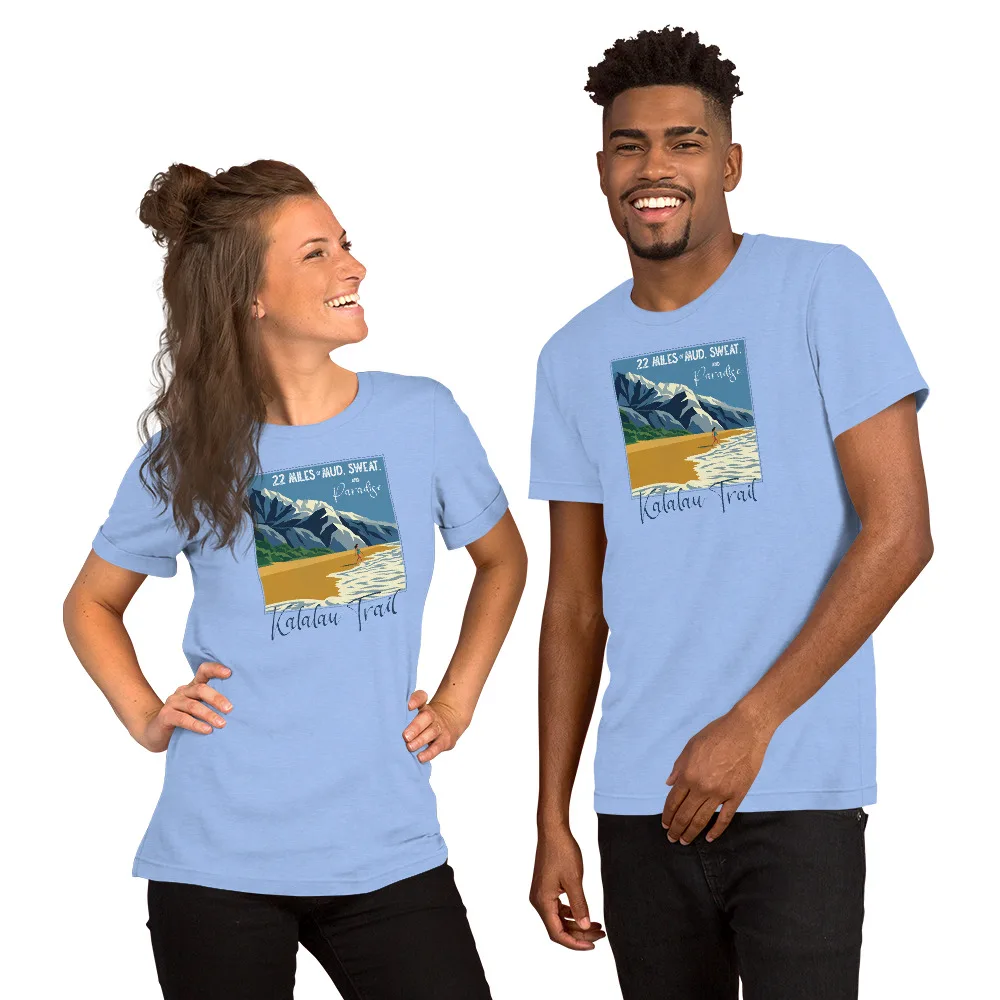


Shirts, Hats, Patches, Pins & More
Kalalau Merch
Whether you are planning your first trip to the Kalalau Trail or you’ve been there many times, we have some items that might interest you.