Securing a permit for the Kalalau Trail is notoriously difficult, with passes regularly selling out in seconds. The state’s recent migration to the new Explore Outdoor Hawaiʻi booking platform has completely changed the reservation layout. This firsthand guide breaks down exactly how to navigate the system at midnight so you can lock in your bucket-list trek.
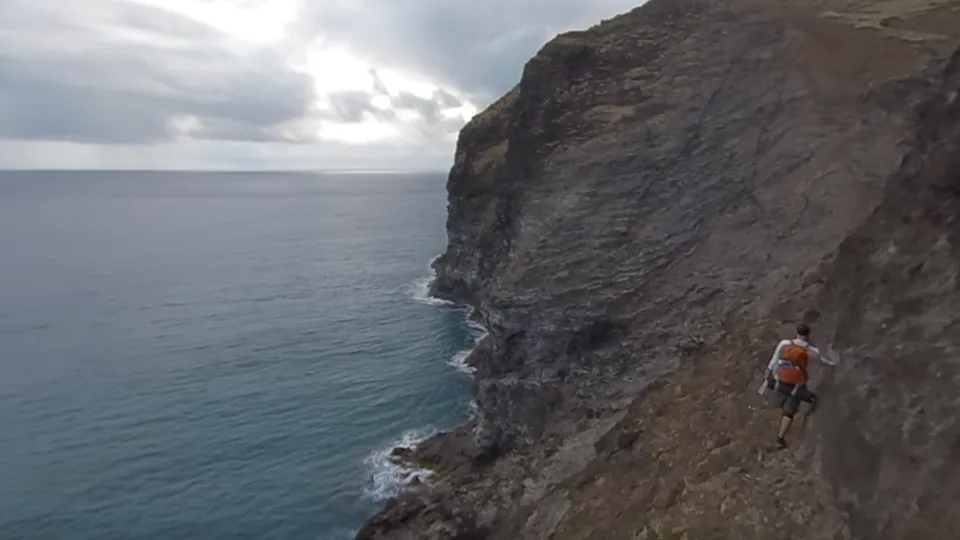
If you are planning to hike the world-famous Nāpali Coast, you already know that getting a permit is the hardest step of the entire journey. For years, hikers had to battle a clunky, outdated system to land one of the coveted overnight slots.
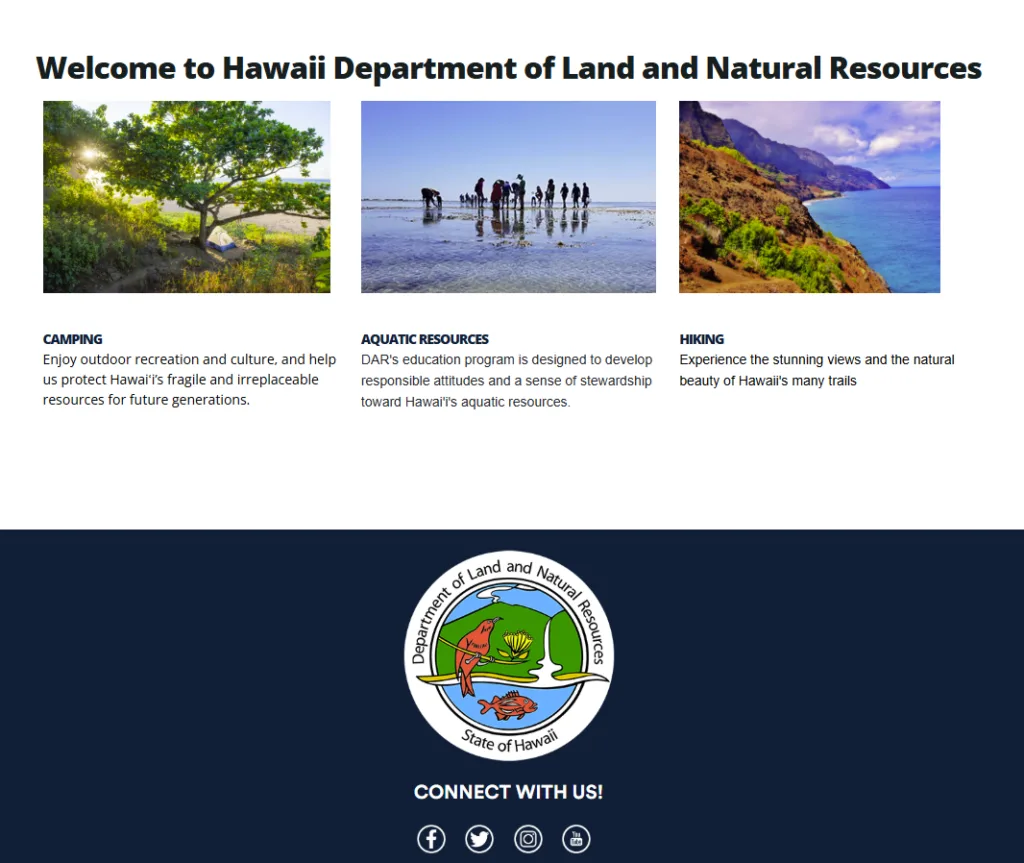
The system has completely changed. Hawaii’s Department of Land and Natural Resources (DLNR) officially migrated all state park camping reservations to the brand-new Explore Outdoor Hawaiʻi portal explore.ehawaii.gov.
If you show up at midnight trying to use your old login or winging it on the new layout, you will miss out. Having managed this site for over two decades, I’ve watched thousands of backpackers lose their slots to a single slow click.
Here is your exact, step-by-step game plan to beat the midnight rush and secure your Kalalau permit under the new system.
1. The Golden Rules of Kalalau Permitting (What Hasn’t Changed)
While the website design is entirely fresh, the core logistics governing the park remain strictly the same:
- The 90-Day Window: Permits are released exactly 90 days in advance.
- The Midnight Release: New slots go live at 12:01 AM Hawaii Standard Time (HST). You must convert this to your local timezone! If you are on the West Coast during Daylight Saving Time, that means you need to be at your keyboard at 3:01 AM.
- The Price Tag: Permits cost $35 per person, per night for non-residents ($25 for Hawaii residents), plus a $5 flat transaction fee.
- The Cap: You can book a maximum of 5 consecutive nights on the trail.
2. Pre-Hike Checklist: Do This 48 Hours Before
Do not wait until 11:55 PM on your release night to figure out the portal. The new layout requires a completely verified profile. Take these steps a few days early:
Create a New Account
Your old ‘camping.ehawaii.gov’ credentials are completely obsolete. Head to explore.ehawaii.gov and register a brand-new profile.
Verify Your Info
The new portal requires your full legal name (matching your government ID), a verified phone number, and an active email address. Ensure your profile is completely filled out ahead of time.
Clear the Names of Your Group
You will need to input the exact names of everyone in your hiking party (max 4 per permit) during the checkout rush. Have them typed out on a notepad document on your desktop, ready to copy and paste instantly. Believe it or not, not having to type names and other information out could save you the seconds that you need to beat the other unprepared wannabe hikers.
3. The Midnight Blueprint: Step-by-Step
When I first visited Kalalau decades ago, the state’s reservation system opened up a full year in advance. Even back then, landing a spot was incredibly tough. I remember booking my dates a year out and spending what felt like an absolute eternity waiting for the day I’d finally set foot on Kalalau beach.

When the rules shifted to a tight 90-day window, the ‘midnight scramble’ became a digital battlefield. Today, securing a permit requires precise planning, quick fingers, and a healthy dose of luck
When the clock strikes midnight in Hawaii, the site experiences a massive traffic spike. Follow this precise sequence to bypass the bottlenecks:
Log In Early -> Select Napali Coast SWP -> Input Group Names -> Confirm & Pay
Step 1: Log In at 11:45 PM
Log into your account fifteen minutes early. If you try to log in at 12:00 AM, server lag might lock you out of the authentication screen.
Step 2: Navigate to the Wilderness Park Page
Don’t use the generic search bar at midnight. Navigate directly to the “Nāpali Coast State Wilderness Park” section. Set your booking type strictly to “Camping”.
Step 3: Watch the Clock (Down to the Second)
Use a digital atomic clock on your phone to watch the seconds tick down. The absolute millisecond your clock rolls to 12:01:00 AM HST, refresh your browser window.
Step 4: Secure Your Dates and Fill the Roster
Select your entry date. The system will prompt you for the number of nights and the names of your party. This is where your pre-typed notepad document comes in handy—copy, paste, and move straight to the payment screen.
Insider Warning: Holding slots in your cart does not guarantee them indefinitely under the new portal framework. You are in a race against hundreds of other users until your payment is fully processed. Have your credit card autofill active and ready to go.
4. The Trap: Your Permit Does NOT Include Parking
One of the most common—and devastating—mistakes first-time hikers make is assuming their camping permit covers their vehicle. It does not.
Hāʻena State Park rules strictly separate trail access from vehicle management.
- Overnight Parking is Separate: You must secure a dedicated overnight parking voucher through GoHāʻena. First, get your permit, then secure your parking. You’ll need your permit number to reserve your parking voucher.
- The Alternative: If you successfully land a trail permit but completely miss out on an overnight parking pass, you will have to arrange a private drop-off or book a seat on the North Shore shuttle.